¶ Intro
Plex is a proprietary media player suite that organizes video, audio, and photos from a user’s collections and from online services, enabling the user to access and stream the content from the server from any device. The Plex Media Server desktop application runs on Windows, macOS, and Linux.
![]()
¶ Availability
Please check our application chart to see which GigaDrive Plans are eligible to install this application.
¶ Features
- Live TV and DVR Hook your local Plex Media Server up to a compatible tuner and digital antenna to let you watch and record free, over-the-air broadcasts available in your area. Record content into your library to gain all the benefits of other content: beautiful metadata, access anywhere and any time, and more. Or watch content live, wherever you are, on tons of devices.
- Plex Home (Parental Controls) Control the media that your friends and family can access, both in and out of the home. Plex Home allows you to create customized, managed accounts, and restrict content those users can access. Restrict based on content ratings, or share specific items. Buy one Plex Pass for your home and share benefits like free apps.
- Mobile Sync If you’re flying across the Atlantic, taking a subway to work, or even just relaxing in the park, you can still play your content! Use Mobile Sync to load copies of your content on your phone or tablet so you can use it when you don’t have internet access. Mobile Sync also helps make sure you always have the next episode of your favorite show ready for your commute.
- Premium Music Features Take your music experience to eleven! Enjoy better artwork and artist bios, automatic lyrics from LyricFind, loudness leveling, sweet fades, visualizers, and more.
- Premium Photo Libraries Make your personal photos and videos pop, with Plex. Auto-tag your photos, get location information, and more.
- Camera Upload Wirelessly sync photos from your phone or tablet to your Plex Media Server. This makes sharing special snaps with family and friends easy, lets you stream those photos to other Plex Apps, and allows you to free up space on your mobile device.
- Hardware-Accelerated Streaming When using a compatible device or processor on the Plex Media Server, subscribers can make use of hardware acceleration when content needs to be converted (transcoded) during streaming. This can be faster and more power-efficient for users.
- Bandwidth and Transcoding Limits Plex Pass subscribers have additional control over processor usage and network/bandwidth usage when streaming.
- Early Access Users with an active Plex Pass subscription often get early access to new features or apps. For instance, both Chromecast support and Plex Home Theater were available to Plex Pass subscribers prior to being released for all users.
- Free Access to Plex Apps Enjoy free access to the Android, iOS, Windows, and Windows Phone apps.
- Cloud Sync Subscribers have access to even more features and benefits. For instance, subscribers can have Trailers and Extras automatically retrieved for movies in their library or make use of Webhooks for notifications and integrations with other tools.
¶ Installing Plex
- Navigate to the Application Manager page and search for
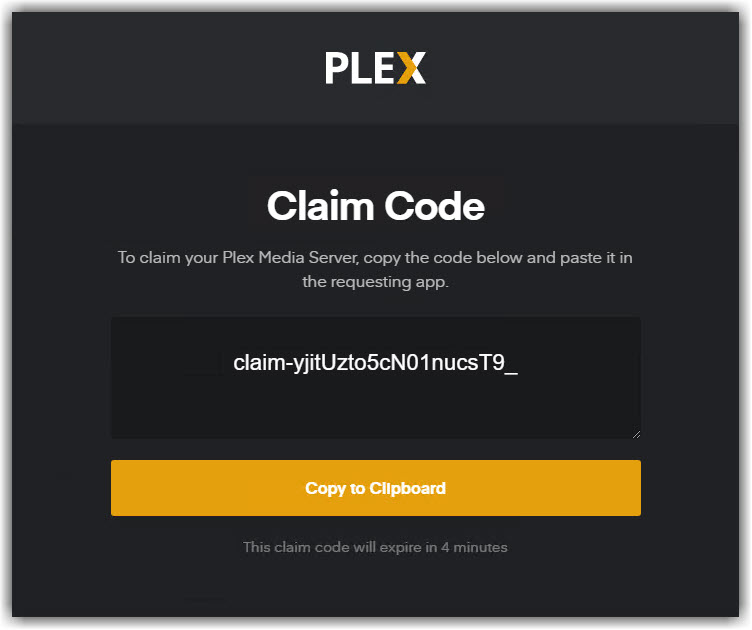
plex. - Click here to get your plex claim code.
- Click icon to open the installation window. and enter your plex claim code.
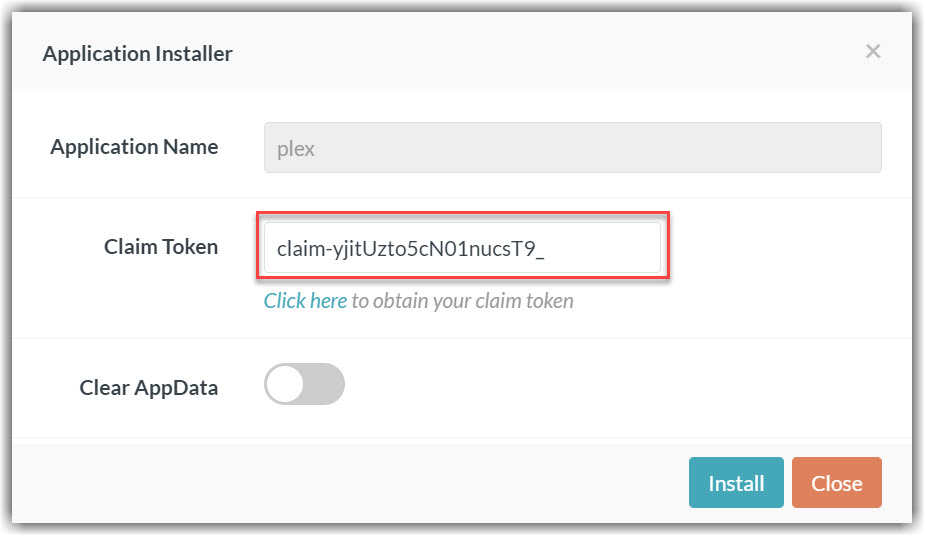
- Press Install to complete the installation.
- Once the installation is complete, click icon to open the Access Info page. Then click Go To Application to access
plex.
¶ Configuring Plex
- Once the initial setup is done, Navigate to the Application Manager page of your dashboard and search for
plex. - Click icon to open the Access Info page and note down WEB PORT which will be used later.
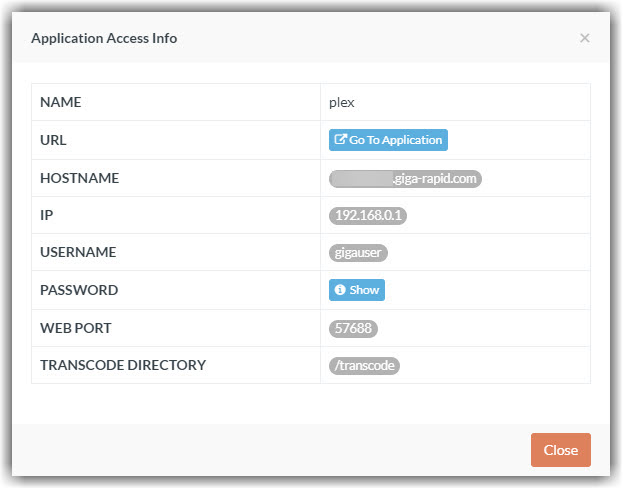
- Click Go To Application to open plex webui.
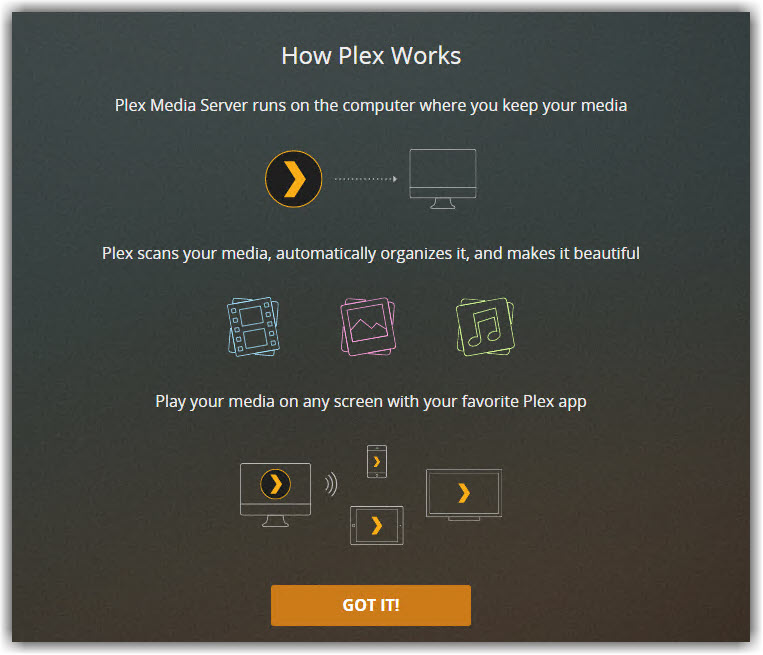
- If prompted, sign in to your plex account. You will be presented with an initial welcome screen as following. Click GOT IT!.
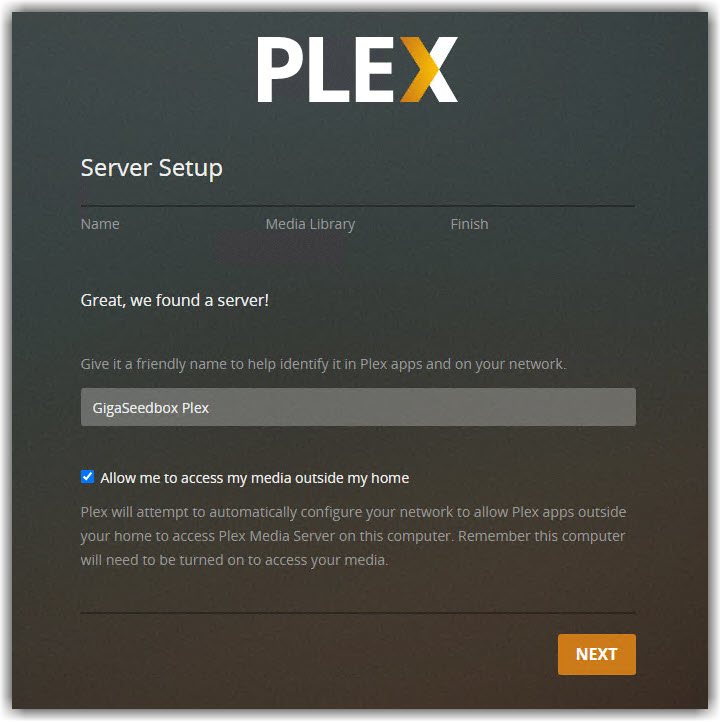
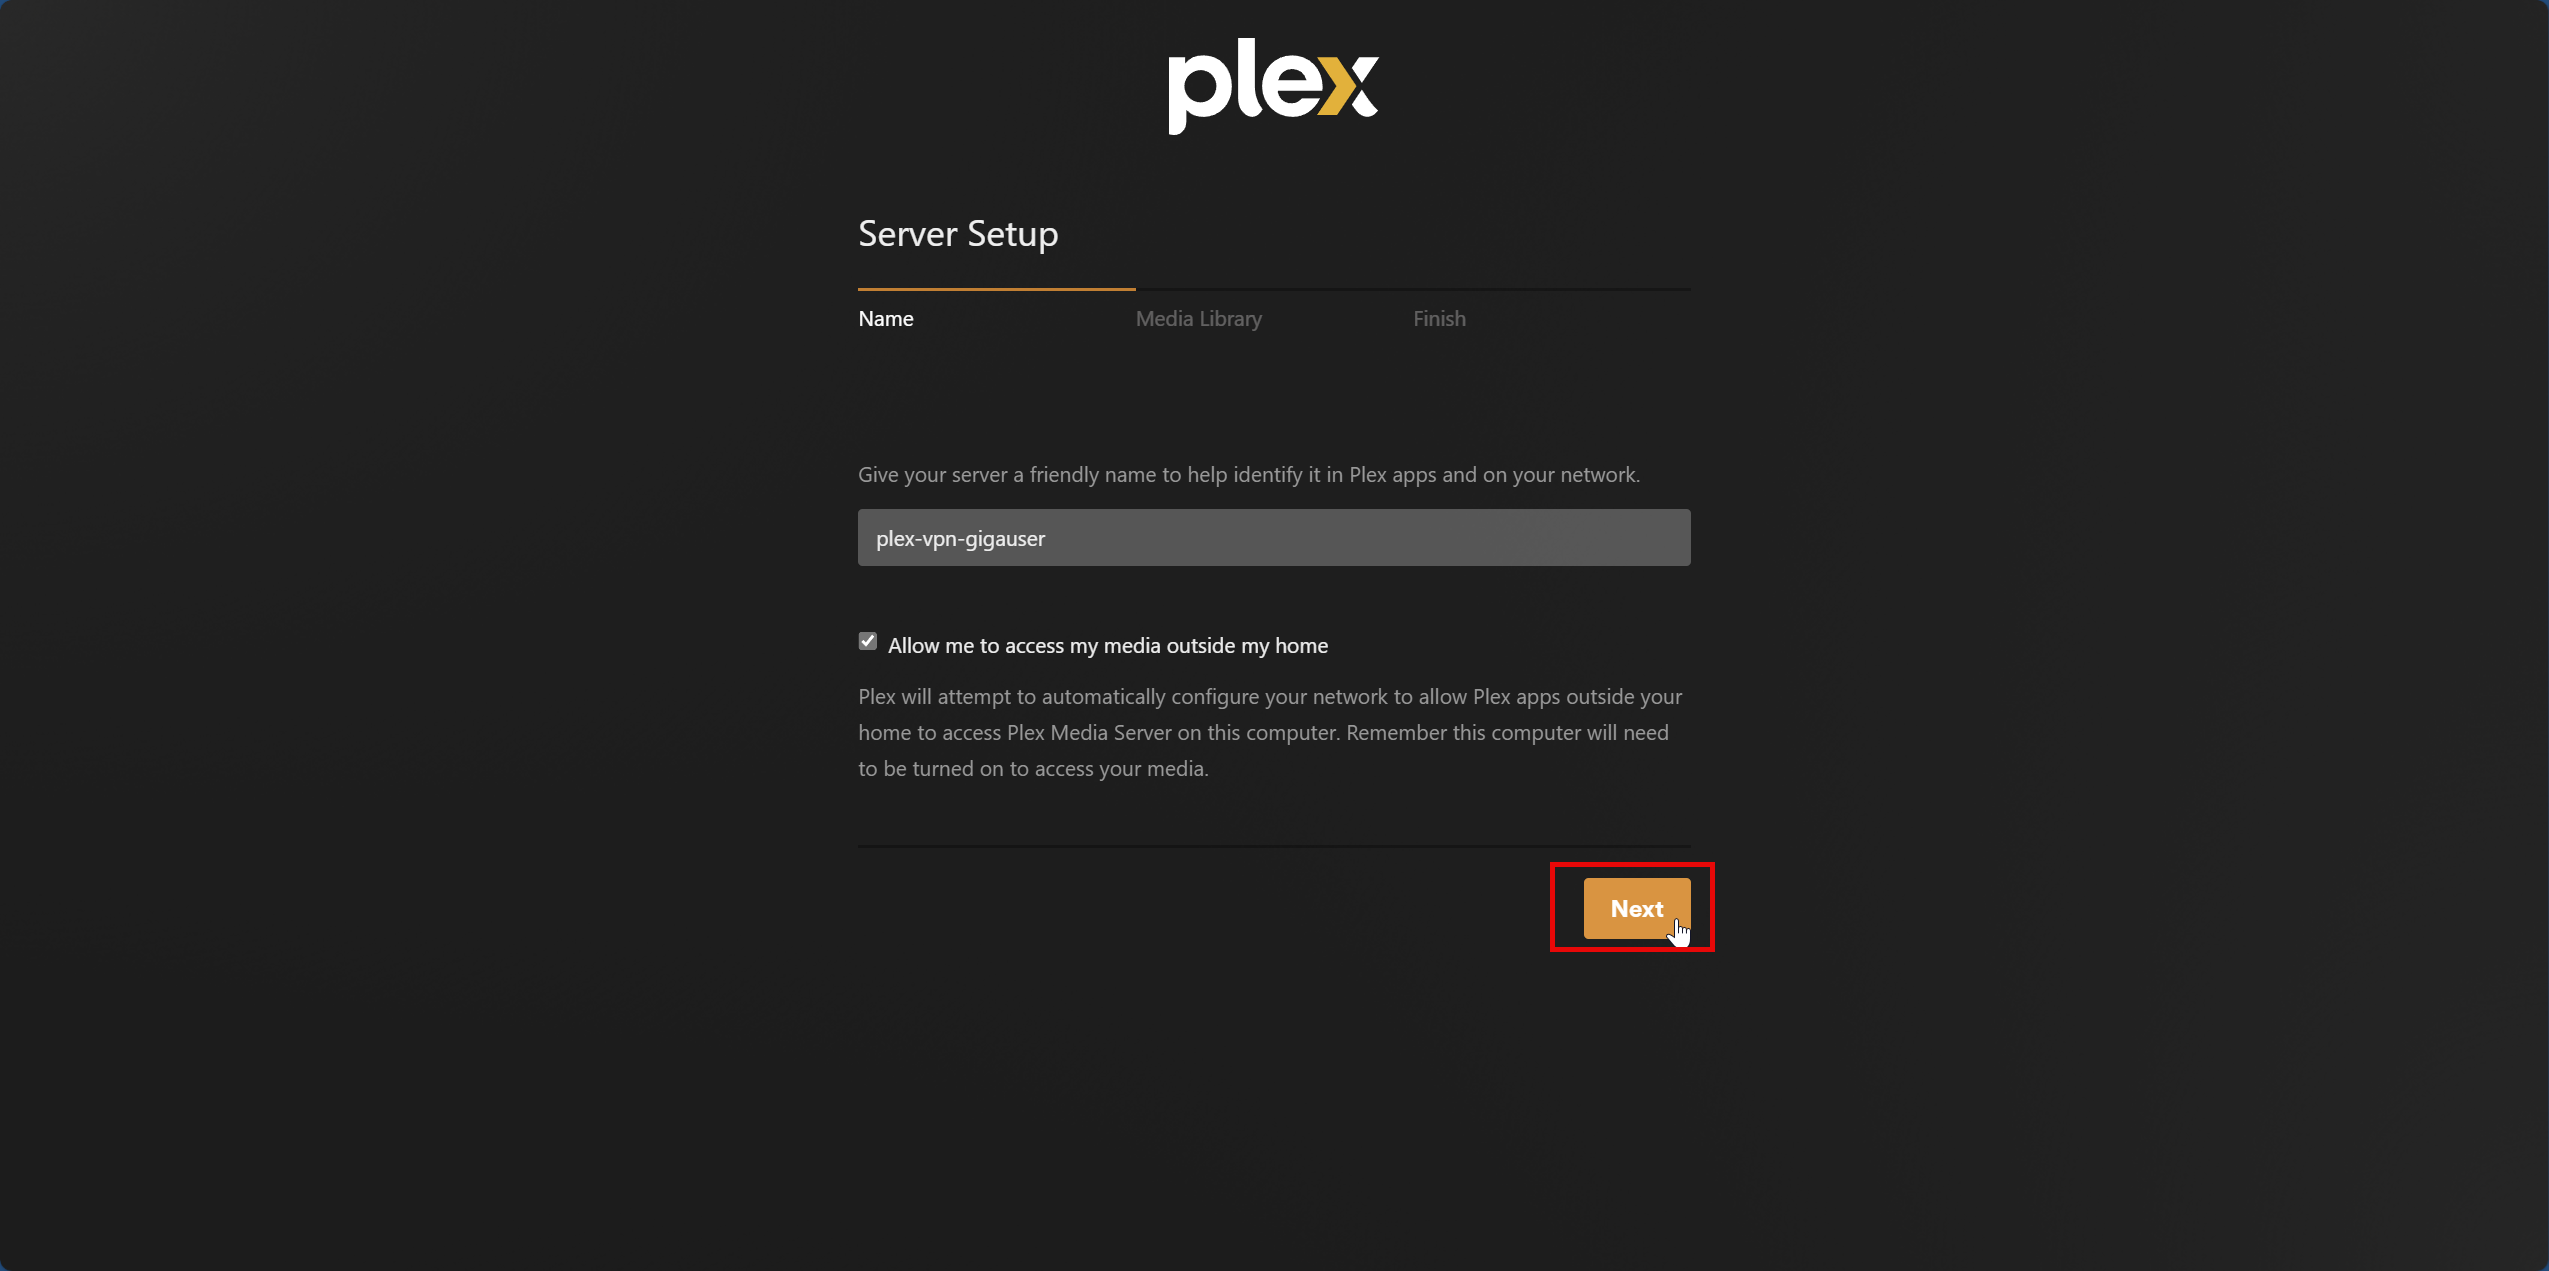
- Set a friendly name for your plex server and click Next.
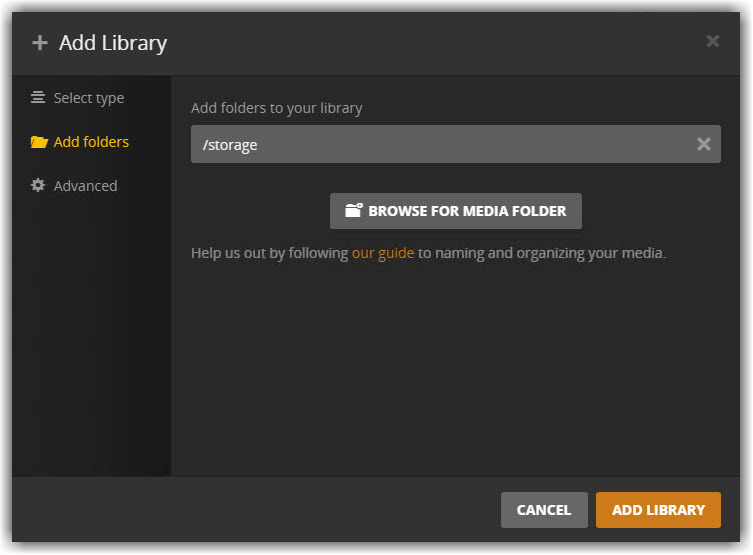
- Click Add Library to create your first media library. Select appropriate folder under
/storagewhile adding folders to your library.
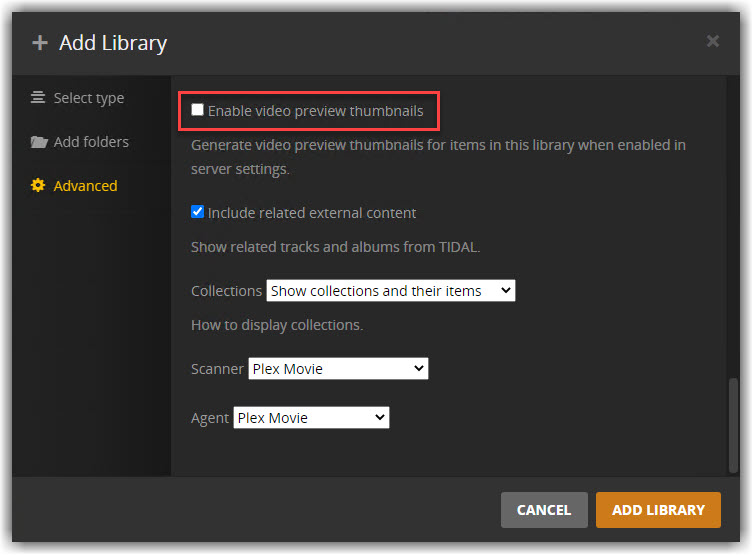
- If your selected folder is a Google Drive/Rclone mountpoint, make sure to uncheck
Enable video preview thumbnailsoption under Advanced tab to prevent abnormal bandwidth usage and avoid hitting your google drive API limits.
- Click Add Library. Then click Next and Done in sequence, to finish the initial setup.
- Click icon at the top right. Navigate to Settings > Remote Access. Enter Web Port from step 2 and click Retry. Make sure that, the selected plex server is correct (on the left panel) incase you have multiple plex server associated with your plex account .
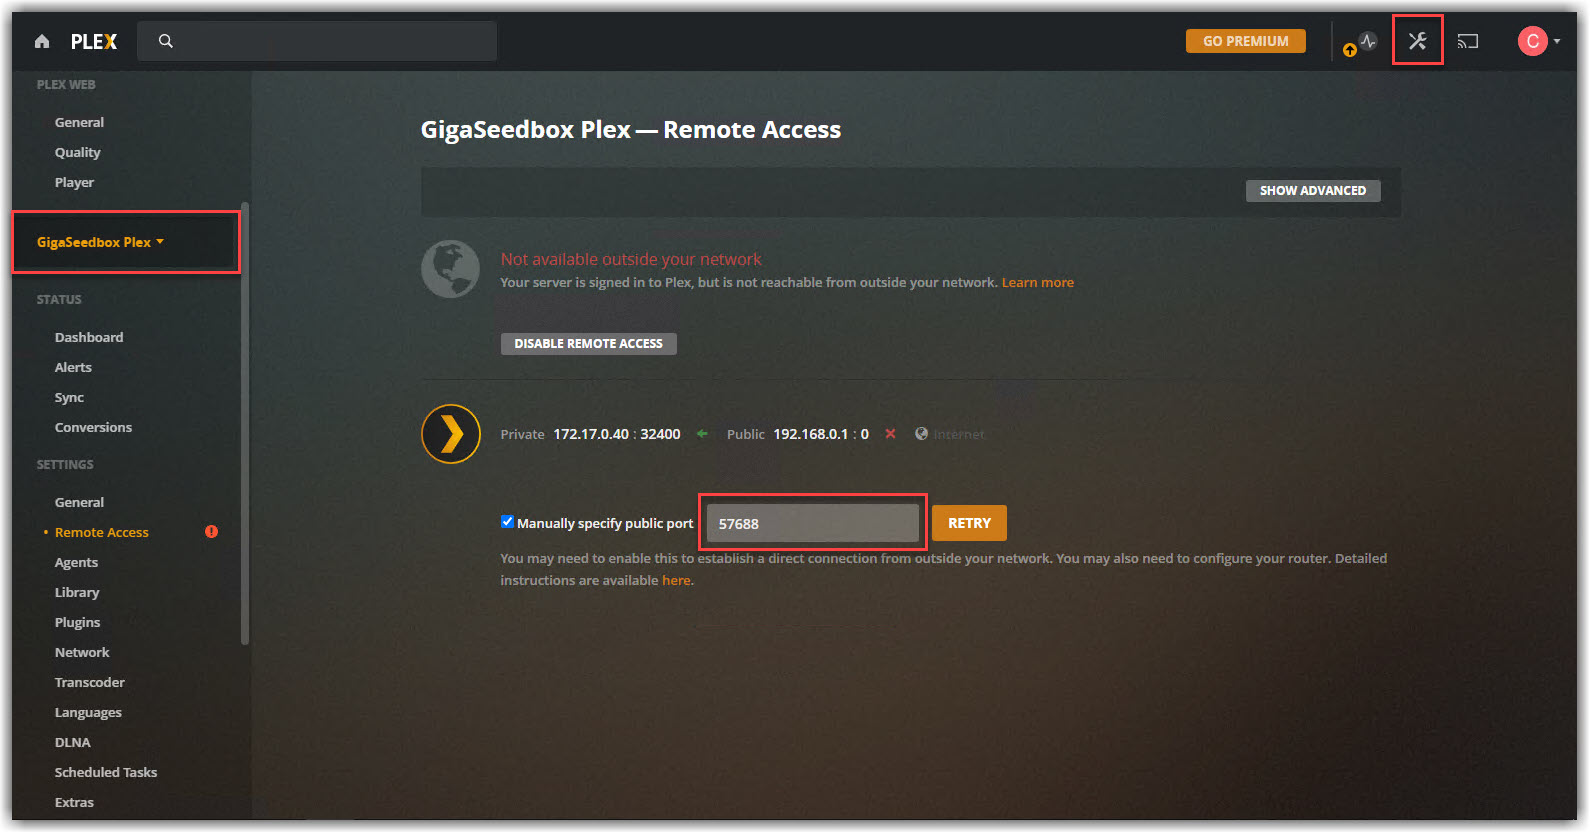
- If successful, you will get the follwing message.
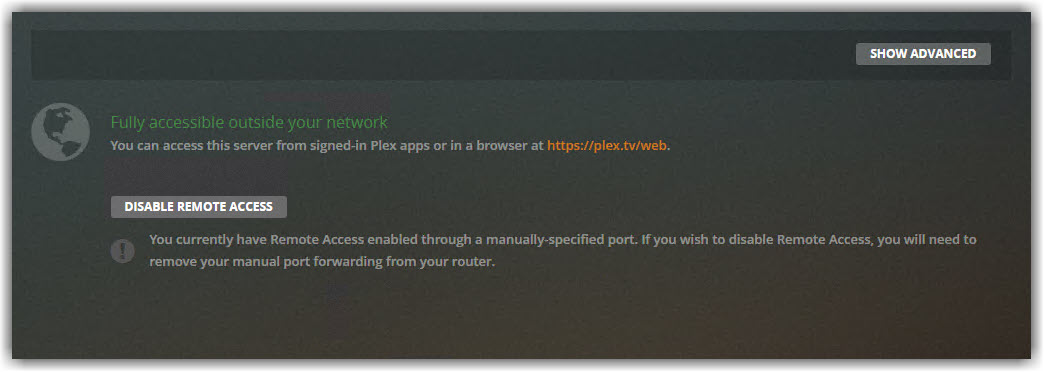
- Now you should be able to access your plex server securely from plex.tv.
¶ Upgrading Plex
- To initiate plex upgrade, simply click the icon and follow the instructions.
- Wait few minutes for the upgrade process to finish. Once done note down the new
web portand follow the step9-11of the sectionConfiguring Plex.
¶ Installing Plex Plugins
The code for a plex plugin is contained within a directory named with a .bundle suffix. As such they are often referred to as bundles. To install plug-in bundles manually, you will first need a link to the plug-in bundle. Sometimes the bundle will be posted on the plex forum or available via link to download from github.
- Download the plugin bundle. If the link leads to a github page rather than a direct download, click Code > Download Zip to download the zipped plugin bundle. Bundles downloaded from github will usually have extra identifiers appended to the bundle’s filename, such as
-master. Edit the bundle’s file or folder name to remove any text after.bundle. - Connect to your GigaDrive via FTP or SFTP and upload the plug-in bundle to the plex’s plugin folder which is located at
/storage/.appdata/plex/Library/Application Support/Plex Media Server. - Restart plex to make sure that the new plugin will be loaded.
¶ Direct Playback on Android
You can follow this guide on youtube.
¶ Fix Buffering Issues in Plex
You can follow this guide.
¶ Notes On Plex-VPN
-
If you were redirected to this page from one of our order or shopping cart pages, it means you intend to install and use Plex on one of our dedicated servers, which does not support plex on it’s default network. This is achieved using a special app called
Plex-VPN. -
Installing
Plex-VPNrequires an active VPN subscription. -
If you already have a WireGuard-supported VPN from a third-party provider, you can skip this section.
-
If you don’t have a VPN subscription, consider purchasing our shared GigaDrive Eco AF20 plan, which includes built-in WireGuard VPN support (currently priced at €1.99 per month).
-
The VPN service is only used to mask your server’s IP address, and Plex traffic will not be routed through the VPN, so the bandwidth allocated to your VPN or GigaDrive plan is not a concern.
¶ Installing Plex-VPN
This guide is specifically intended for dedicated servers where the standard Plex app cannot be used due to ISP restrictions imposed by Plex. Only install this variant if the regular Plex app is not functioning on your dedicated server.
- Kindly, read the notes above if you have not already.
- Login to your server via FTP.
- Navigate to
/storagedirectory. - Create a directory/folder named
appand Enter it. - Then Create a directory/folder named
plex-vpnand Enter it. - Again Create a directory/folder named
configand Enter it. - At this point, your current location should be
/storage/app/plex-vpn/config/. - Upload your wireguard VPN configuration file. Make sure the configuration file is named as
peer1.conf. If there are other files/folders included along with conf file file, upload those in the same directory as well. - Navigate to the Application Manager page and search for
plex-vpn. - Click here to get your plex claim code.

- Click icon to open the installation window. and enter your plex claim code.

- Press Install to complete the installation.
- Once the installation is complete, click icon to open the Access Info page. Then click Go To Application to access
plex-vpn.
¶ Configuring Plex-VPN
- Follow the standard steps mentioned on the previous section.
- If you are unable to close the Plex Pass Pricing Popup page, then follow these instructions
- Download Ublock Origin for your browser.
- Refresh the plex setup page.
- Right click anywhere on the page and select
Block Element.
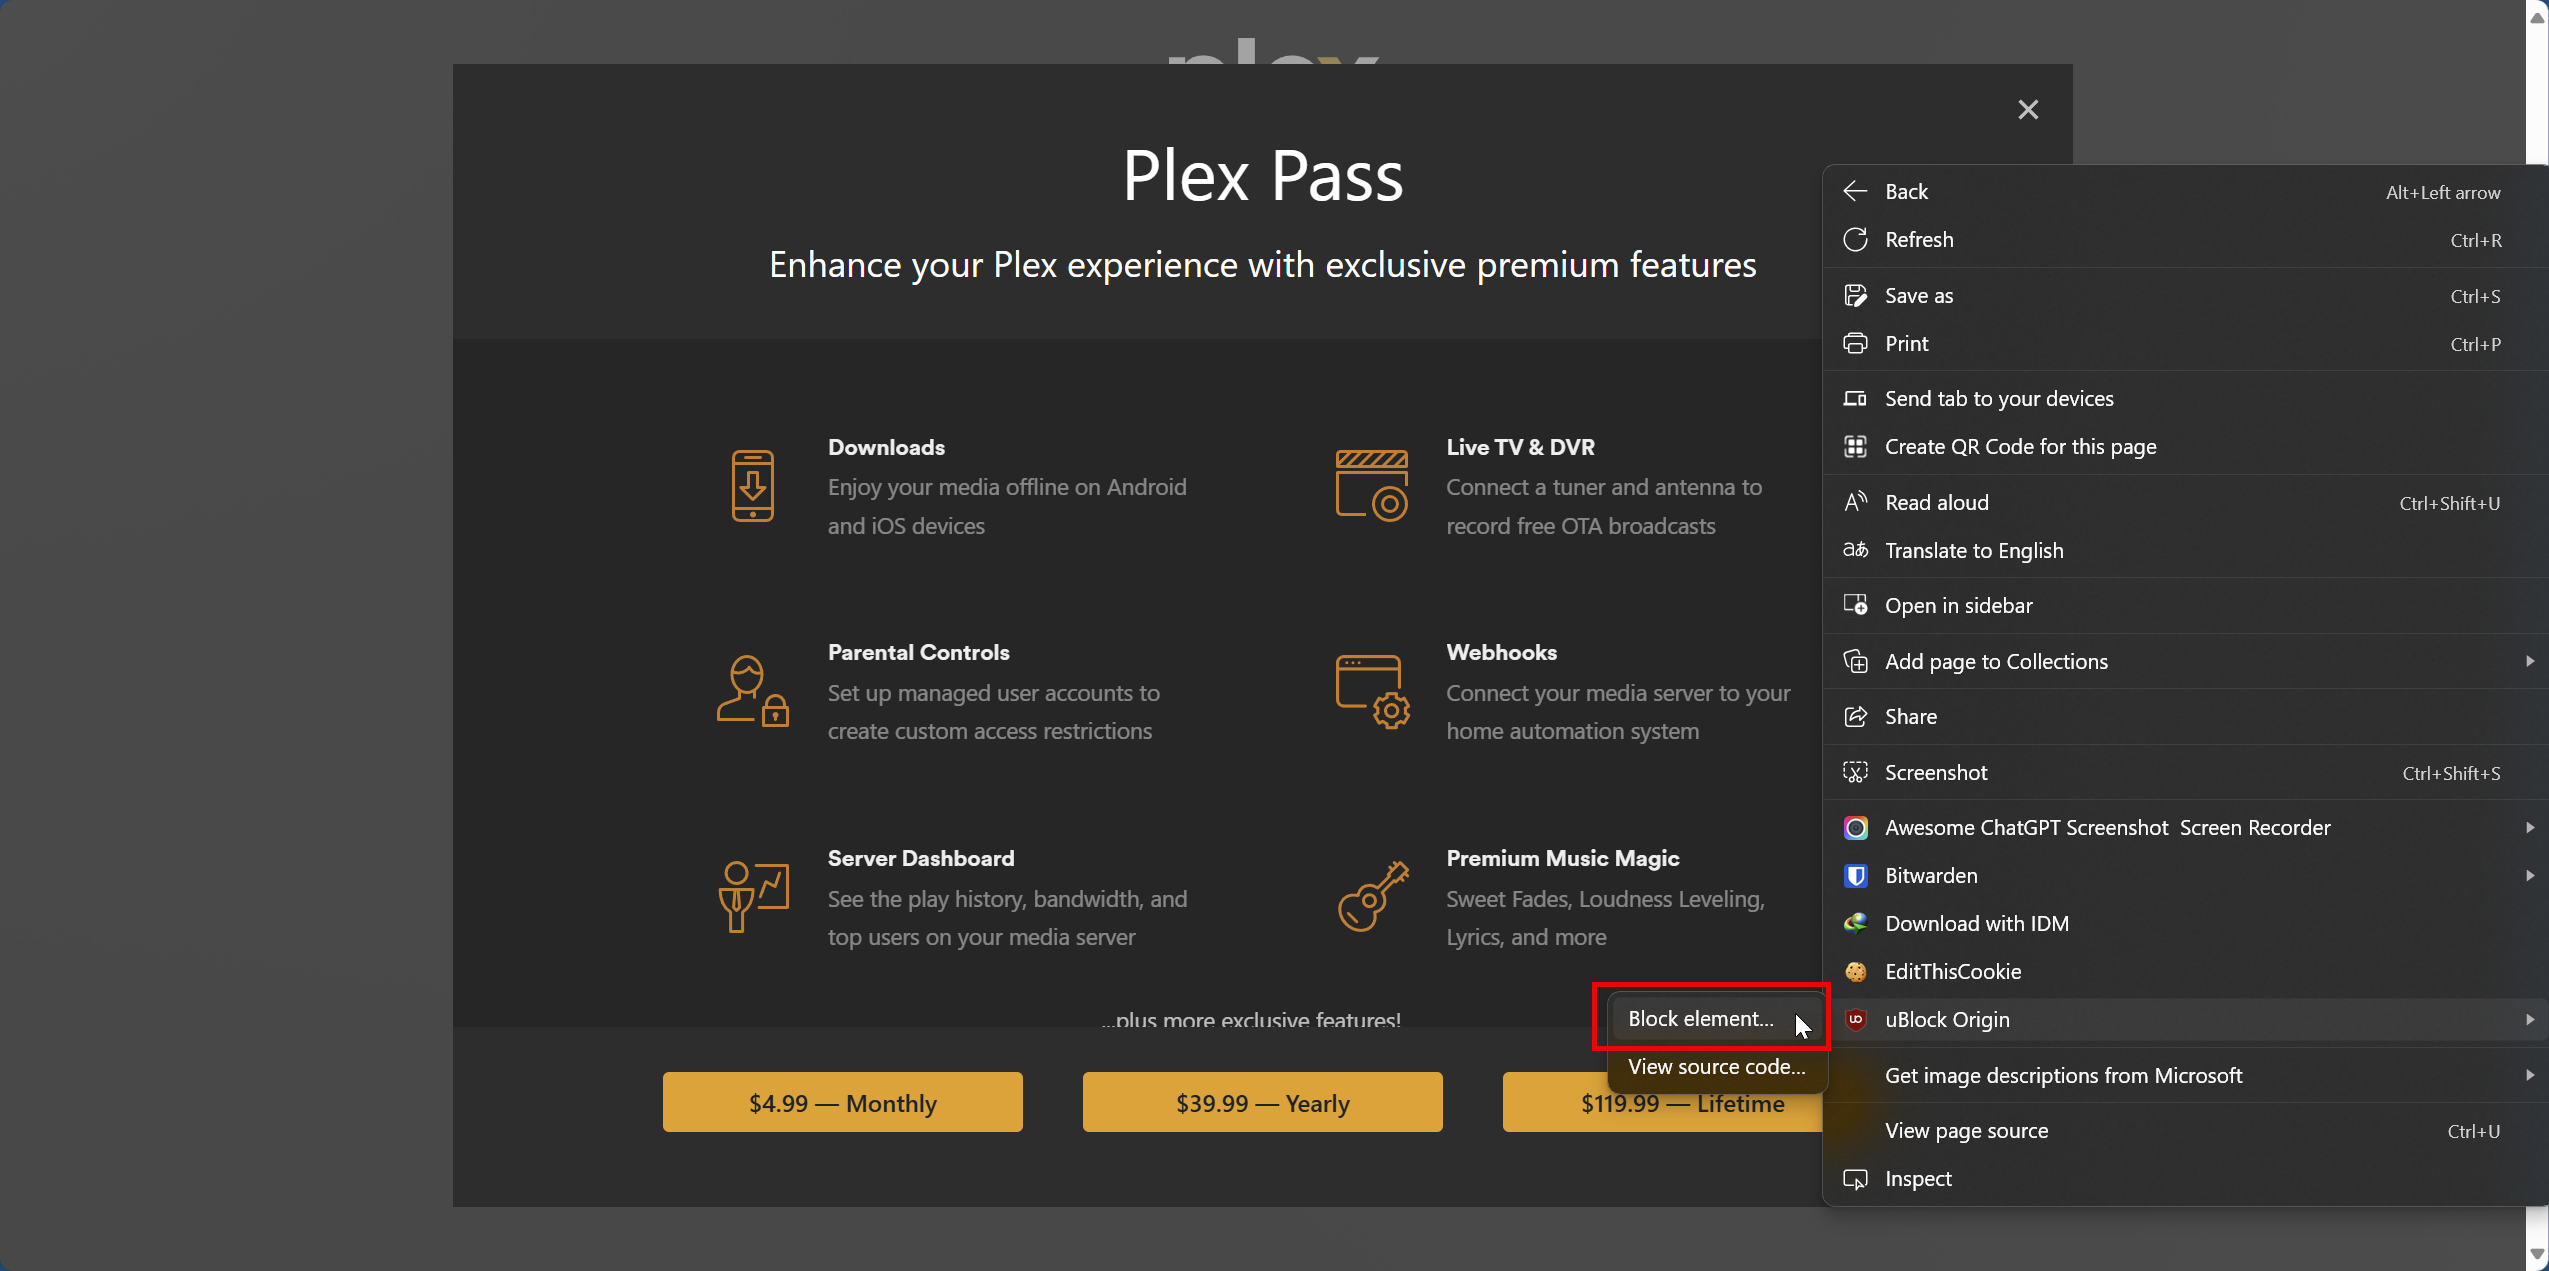
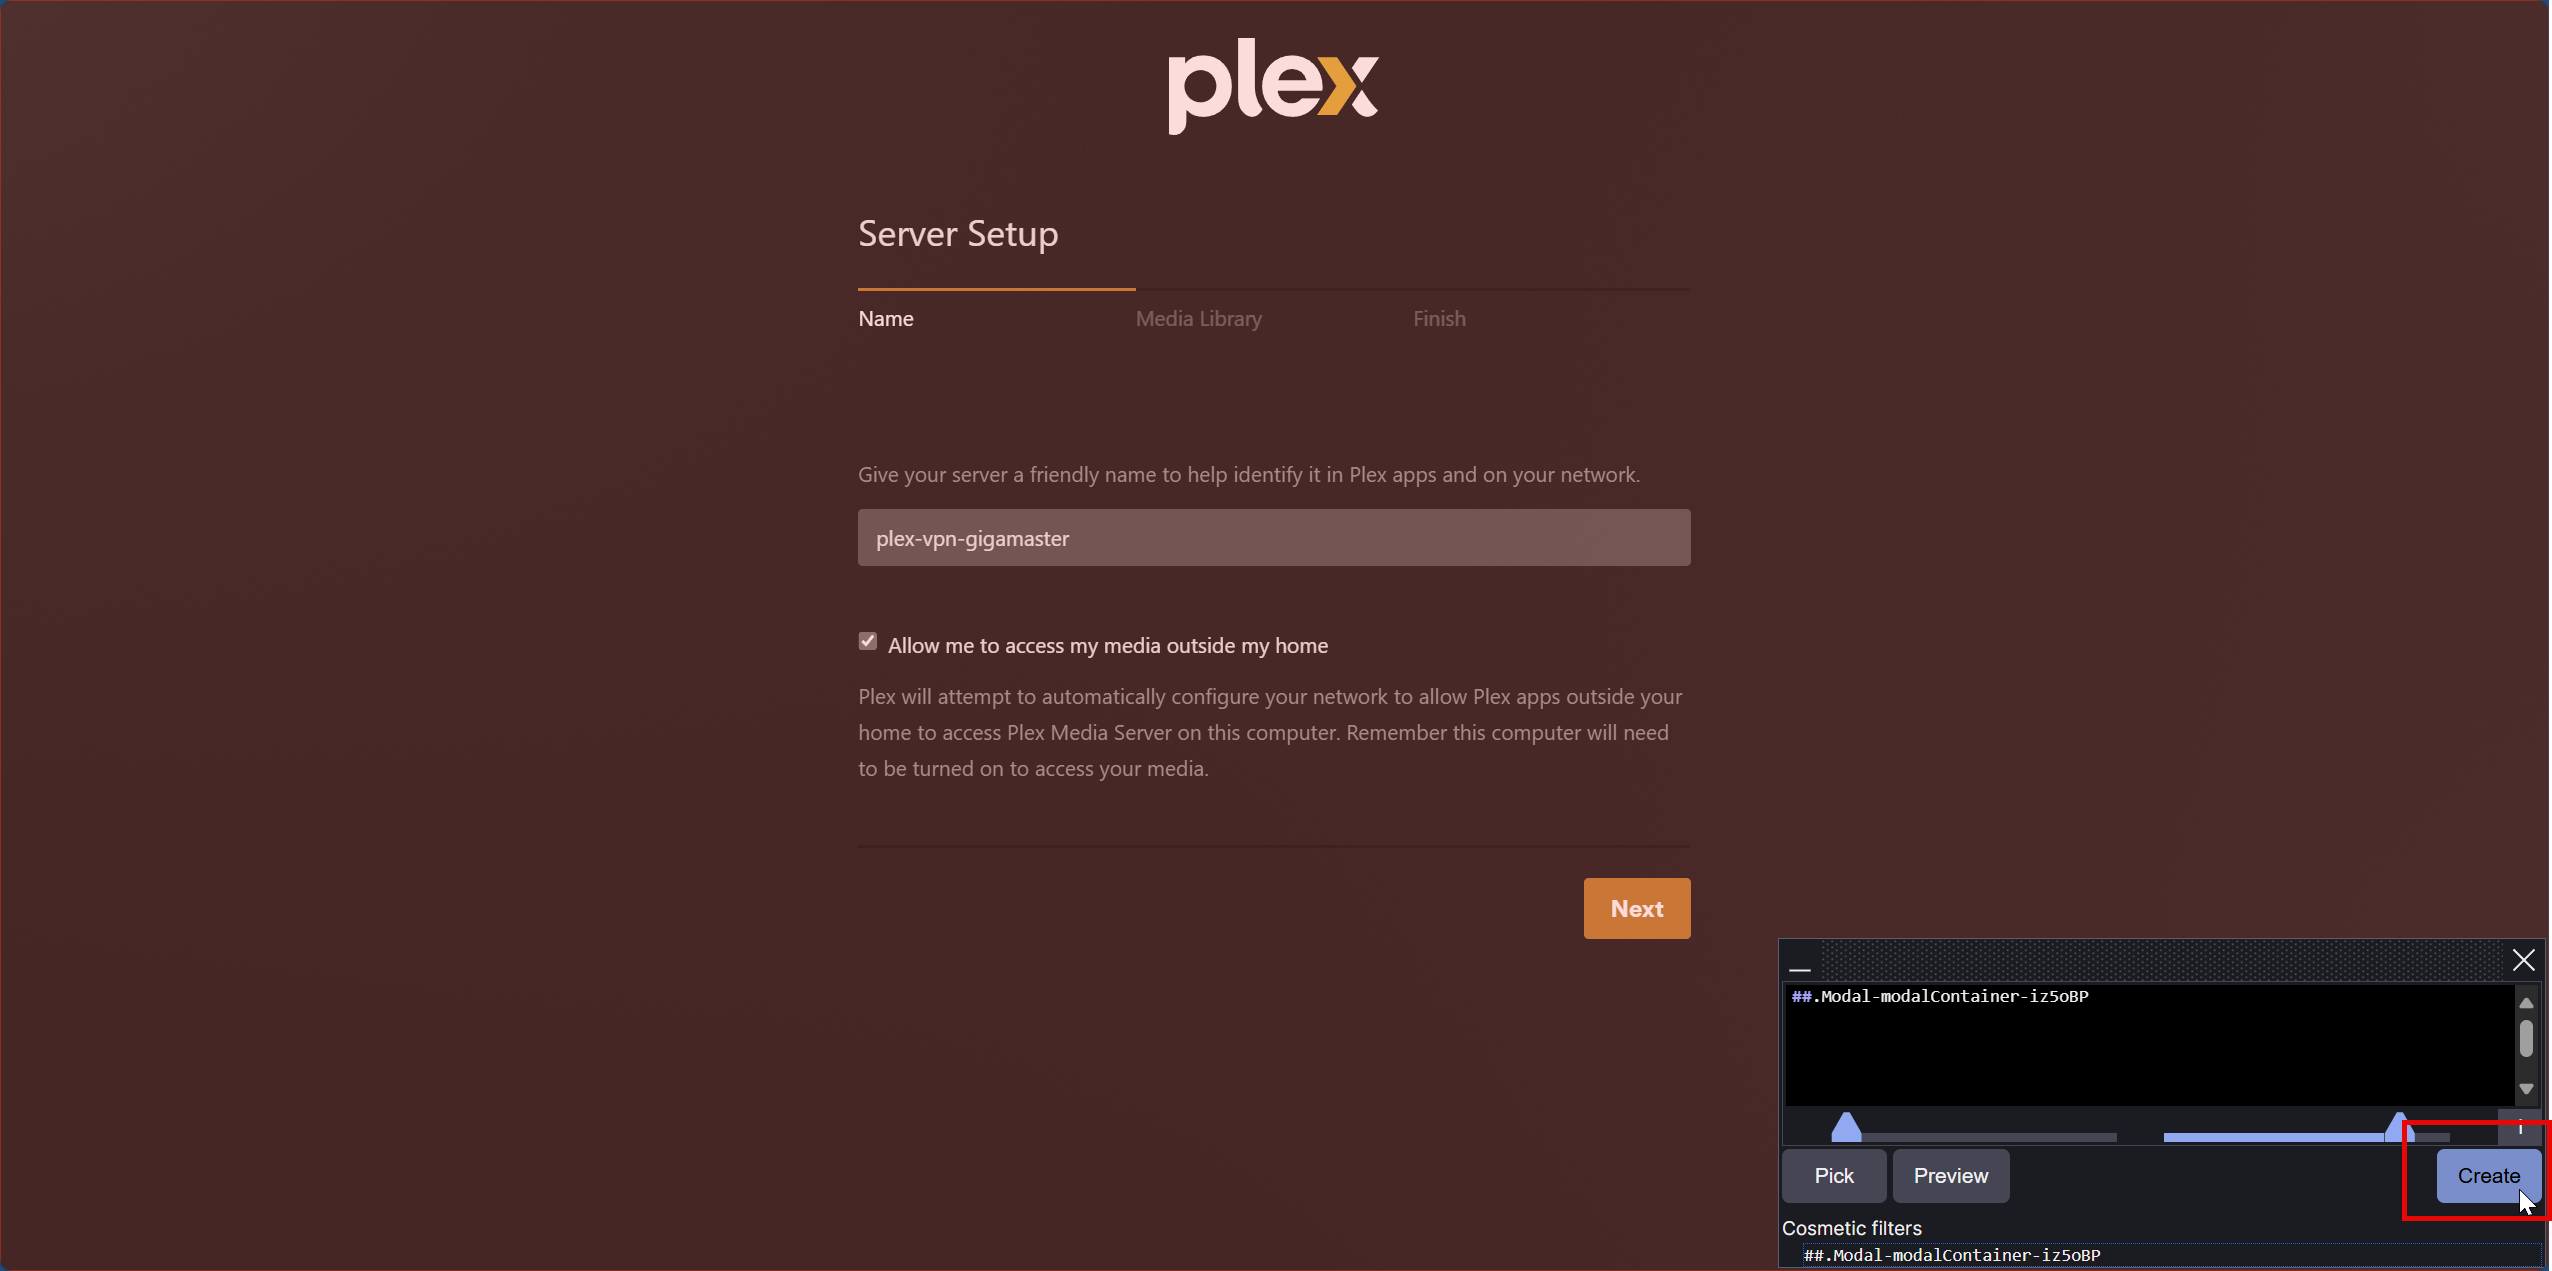
- Then click the
Pickbutton.
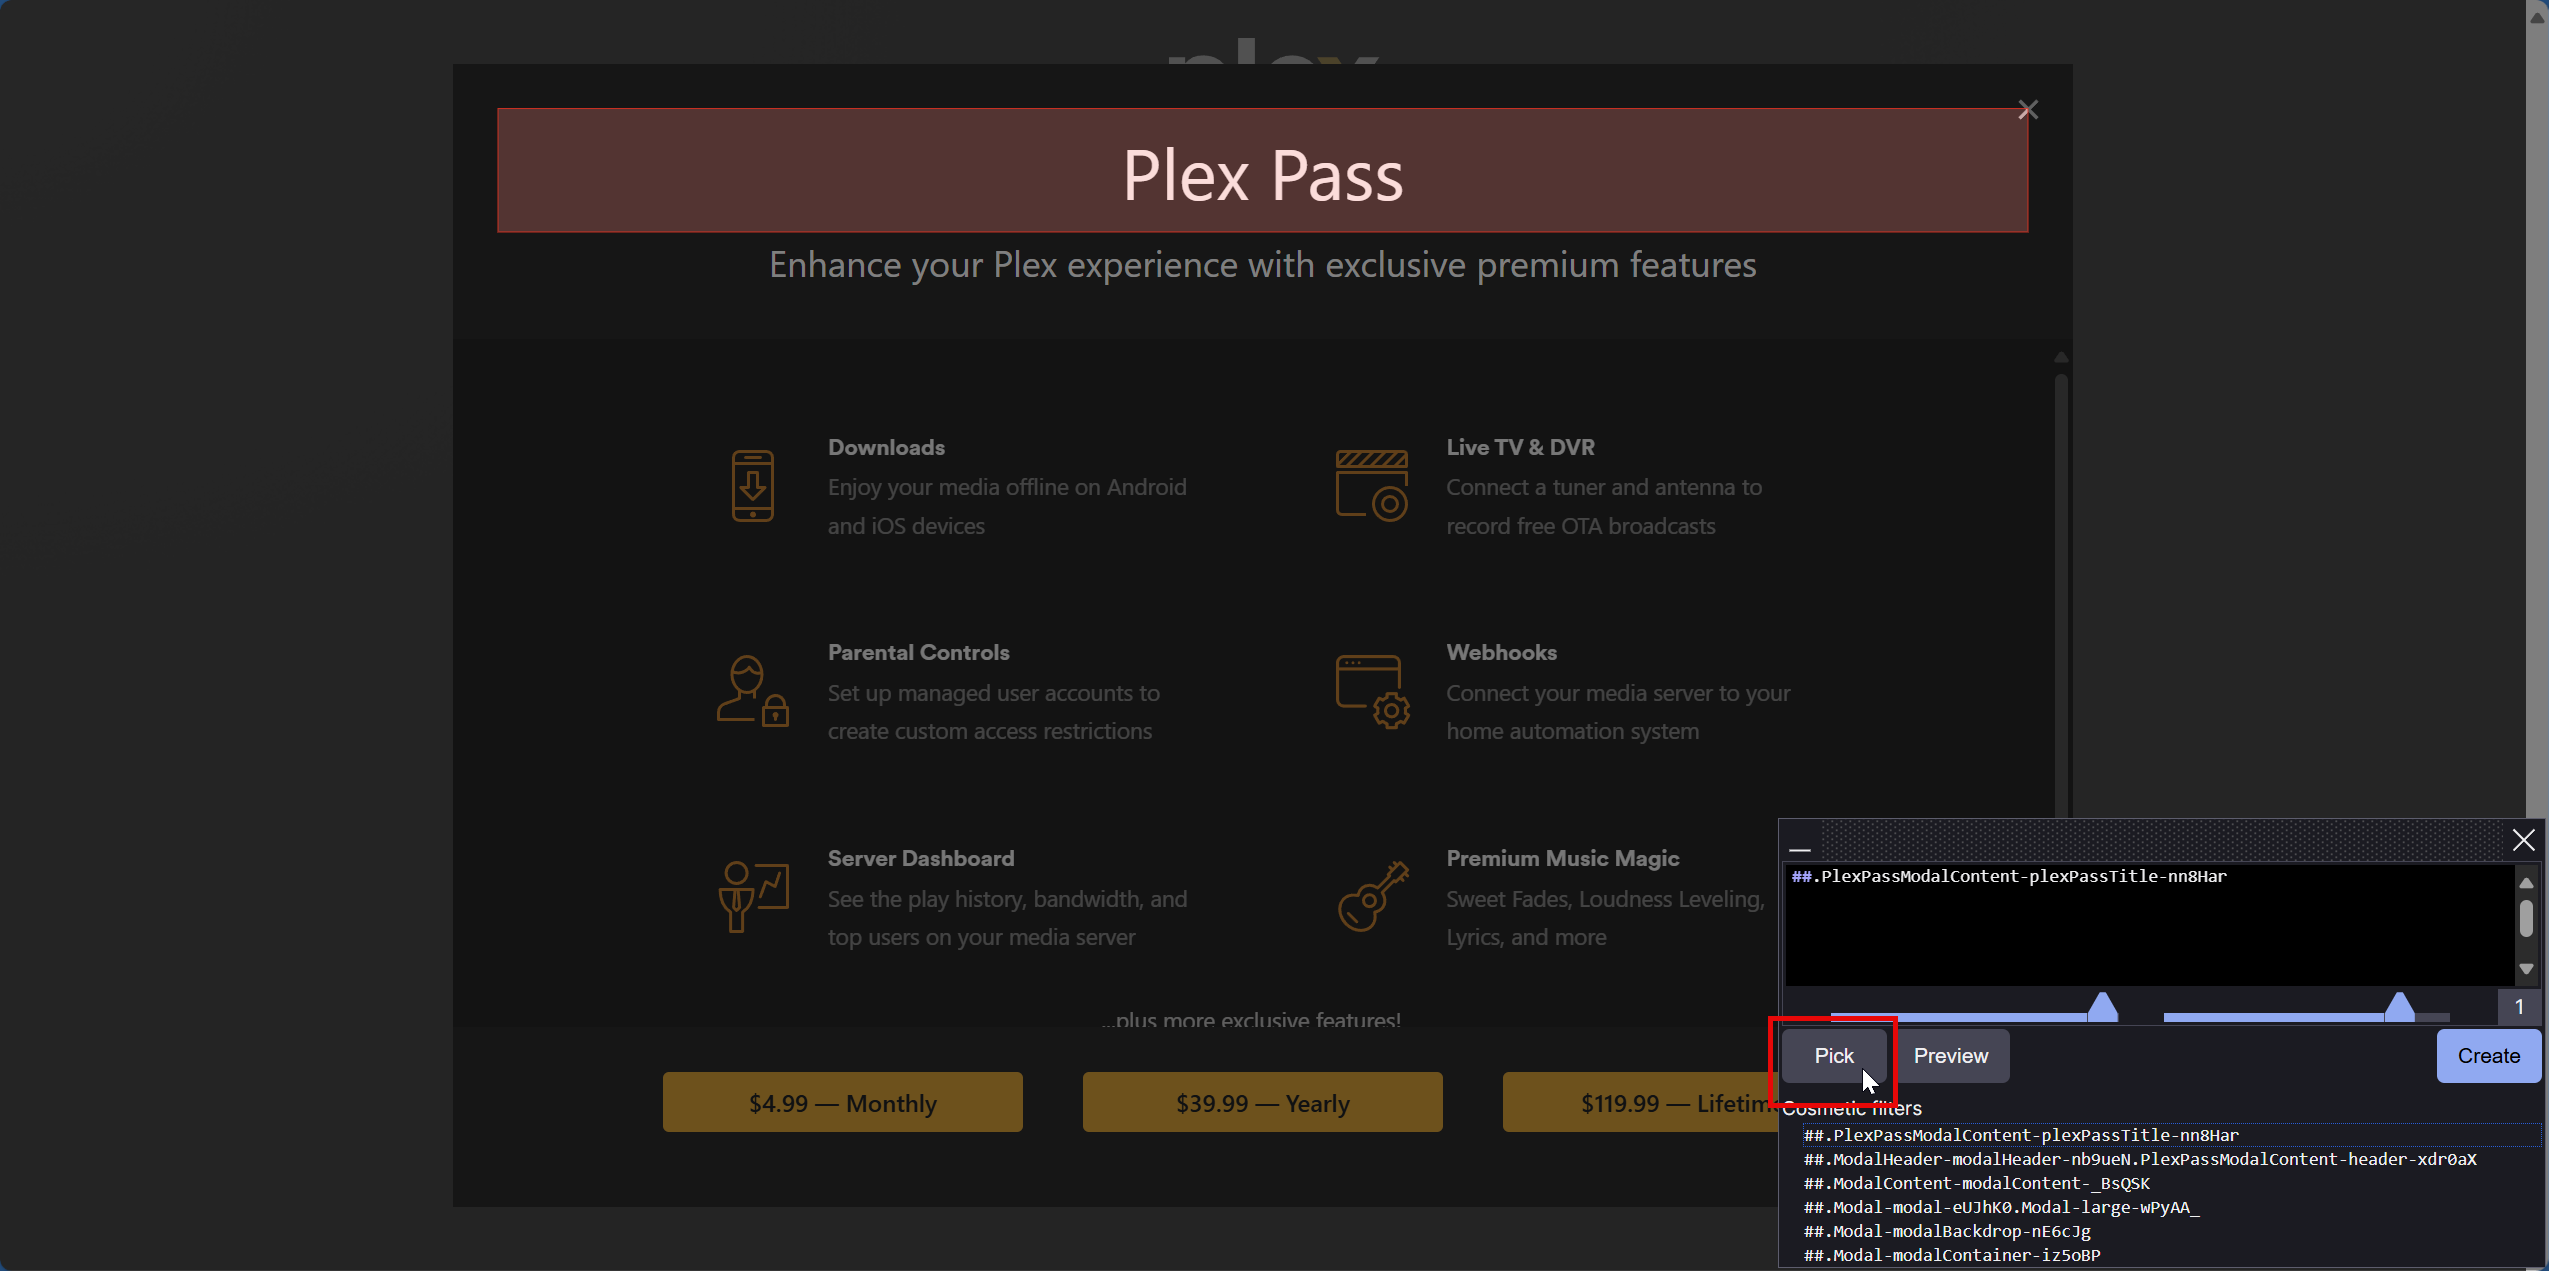
- Move your mouse cursor over the webpage and select the empty black area left side to make sure the whole page and popup is covered as shown in the image below. Then, Click
Createbutton.
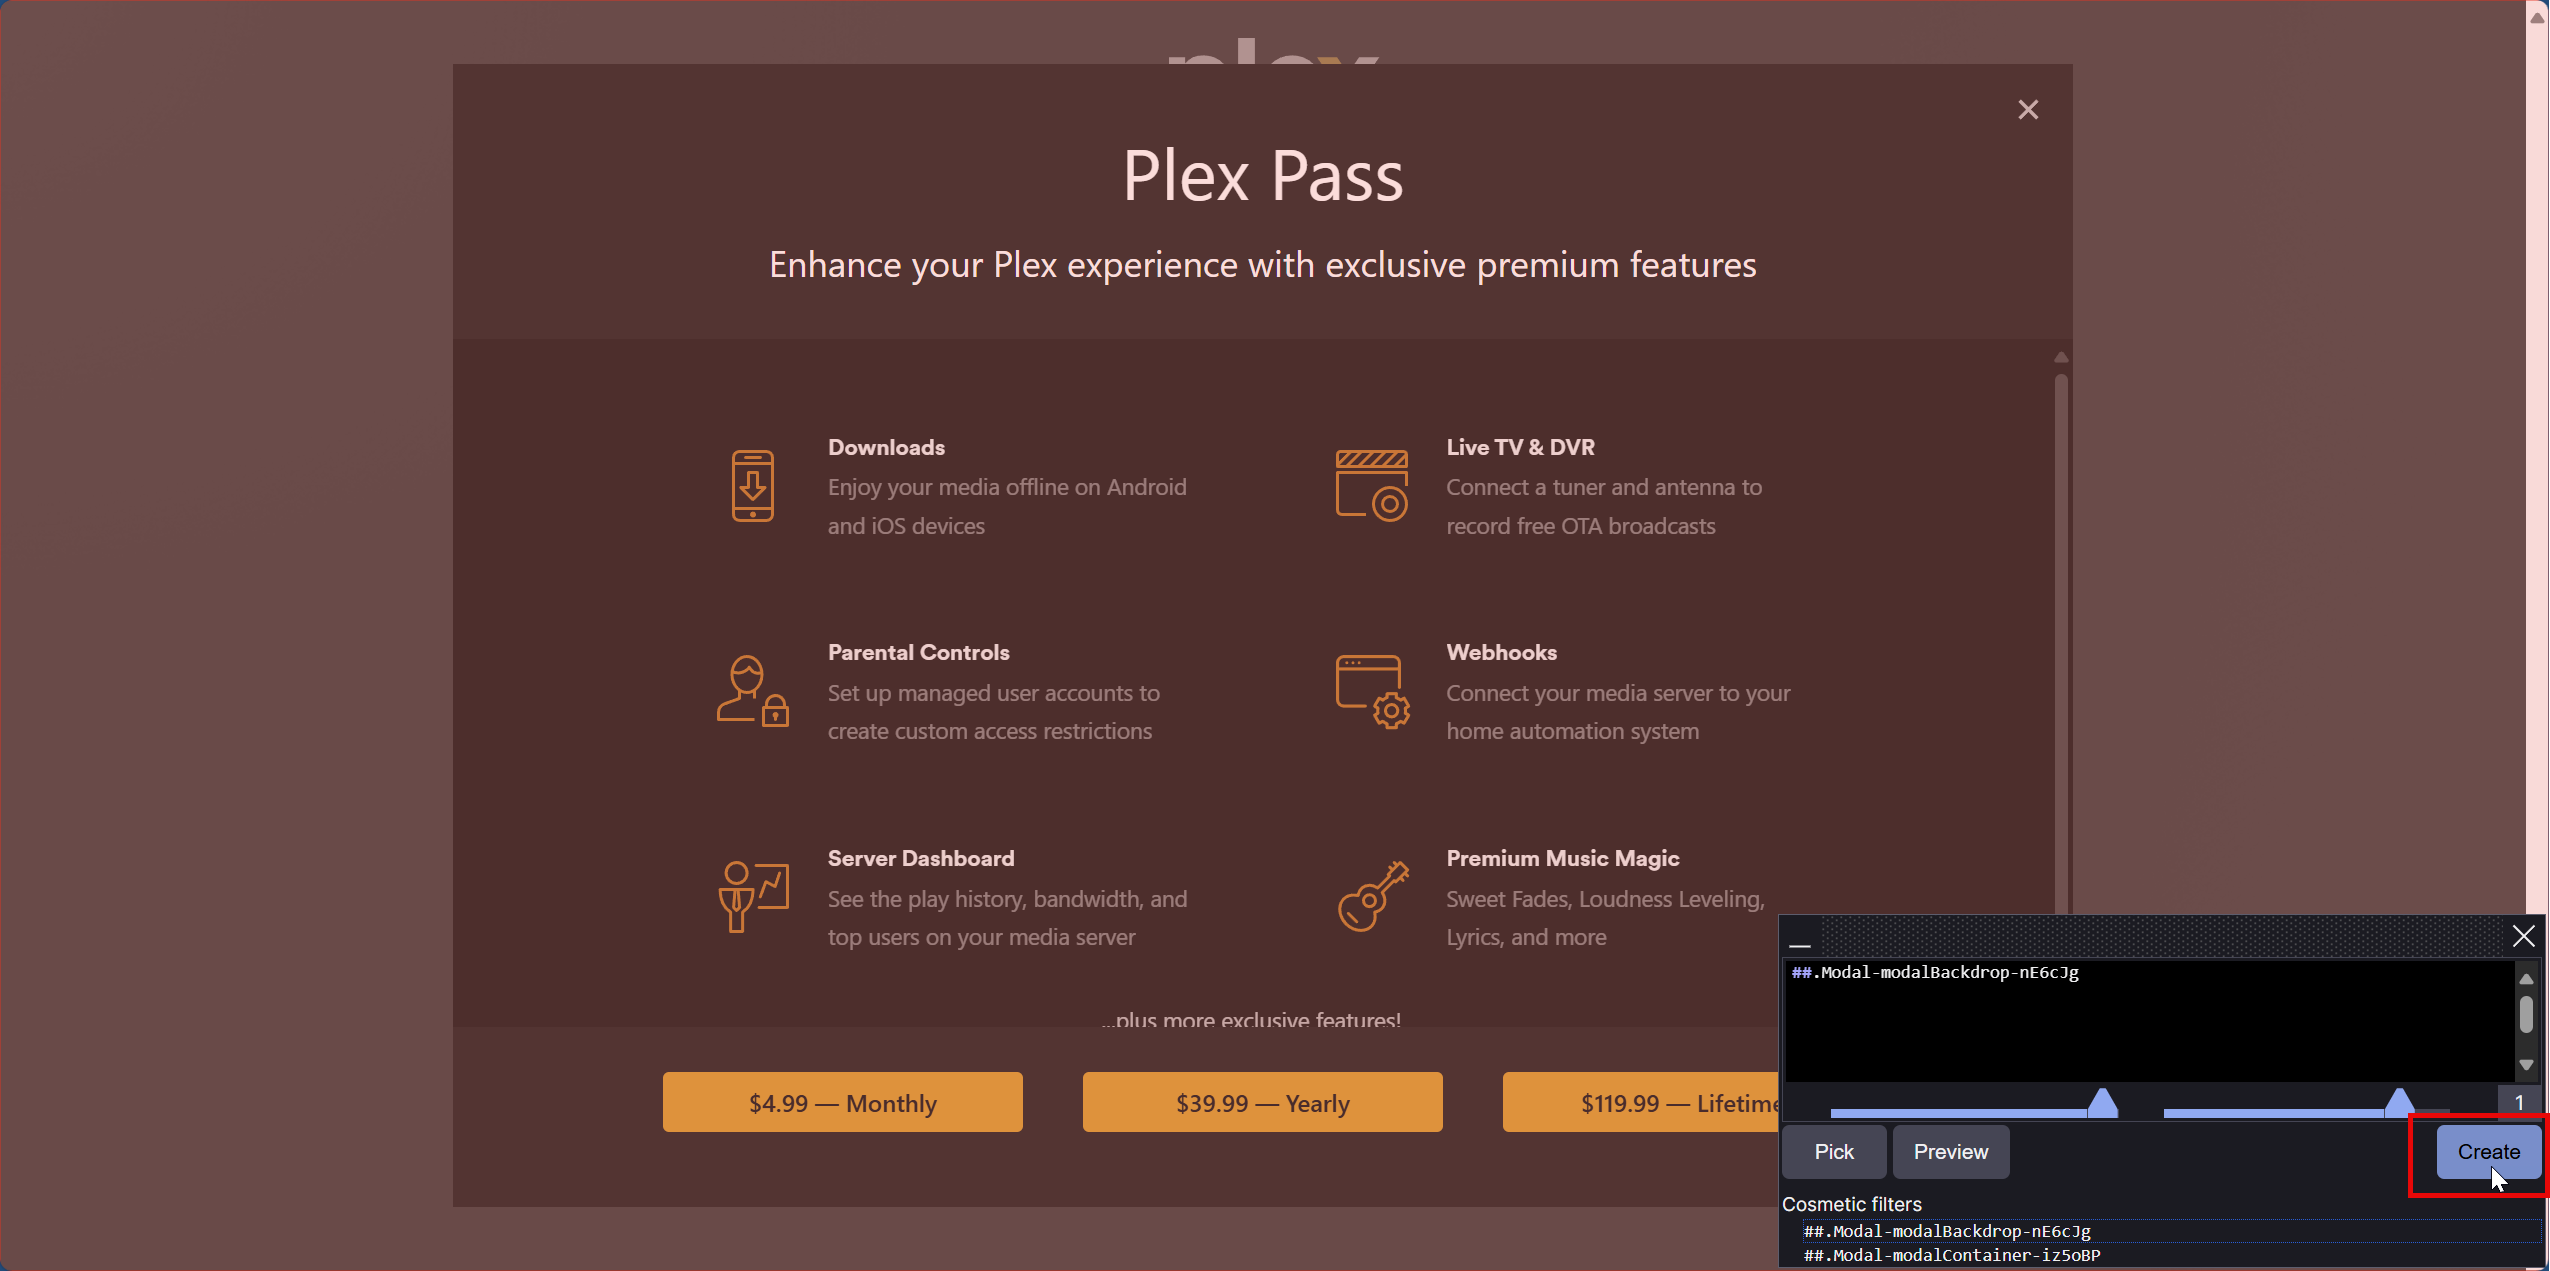
- Repeat the same step again to capture and remove the invisible popup layer.
- Once done, you will be able to configure plex usually.
Please note that, you won’t be able to configure/change anything on the
Remote Accessconfiguration page of plex due to nature of the setup. So, you may skip the same.
Plex will work on any device as usual without any speed issue.