¶ Intro
Jellyfin is a suite of multimedia applications designed to organize, manage, and share digital media files to networked devices. Jellyfin consists of a server application installed on a machine running Microsoft Windows, macOS, Linux or in a Docker container, and another application running on a client device such as a smartphone, tablet, smart TV, streaming media player, game console or in a web browser. Jellyfin also can serve media to DLNA and Chromecast-enabled devices. It is an open-source fork of Emby.
![]()
¶ Availability
Please check our application chart to see which GigaDrive Plans are eligible to install this application.
¶ Features
- Your media, wherever you are - Jellyfin lets you watch your media from a web browser on your computer, apps on your Roku, Android, iOS (including AirPlay), Android TV, or Fire TV device, or via your Chromecast or existing Kodi installation.
- It’s your data - Jellyfin has no tracking, phone-home, or central servers collecting your data. We believe in keeping our software open and transparent, and anything we might collect (crash logs, etc.) is opt-in only.
- It’s free - The Jellyfin server and clients are free to download, now and always. There are no costs, hidden or otherwise, to use Jellyfin, either for yourself, for your friends, or for your company.
¶ Installing Jellyfin
- Navigate to the Application Manager page and search for
jellyfin. - Click icon to open the installation window and tap Install to start the installation process.
- Once the installation is complete, click icon to open the Access Info page. Then click Go To Application to access
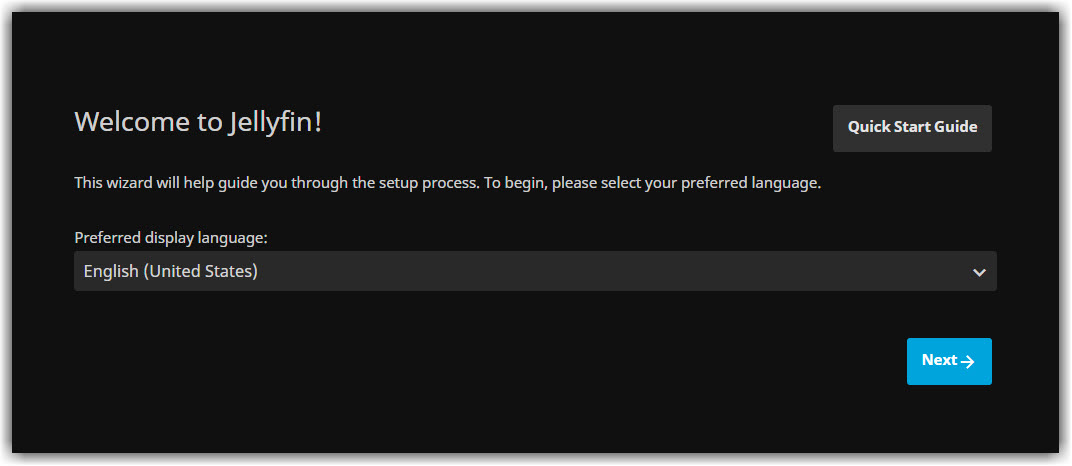
jellyfin. - You will be redirected to the initial setup page which looks like the following image. Select your Preferred display language and click Next.
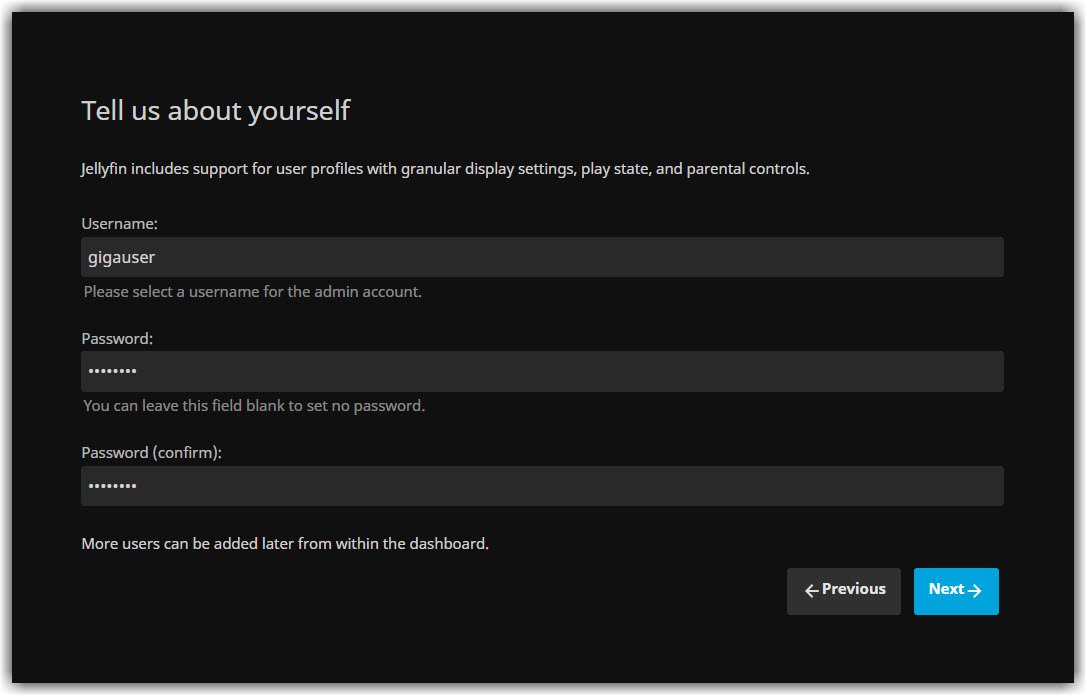
- Enter Username and Password of your choice. Click Next.
- Click Next to skip the step that involves setting up your media libraries.
- Enter your Preferred Metadata Language and Country.
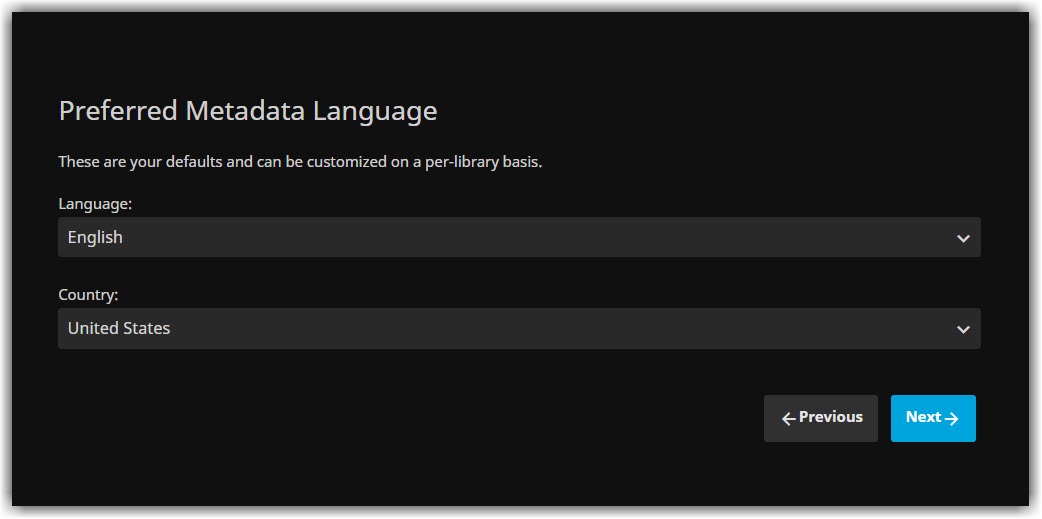
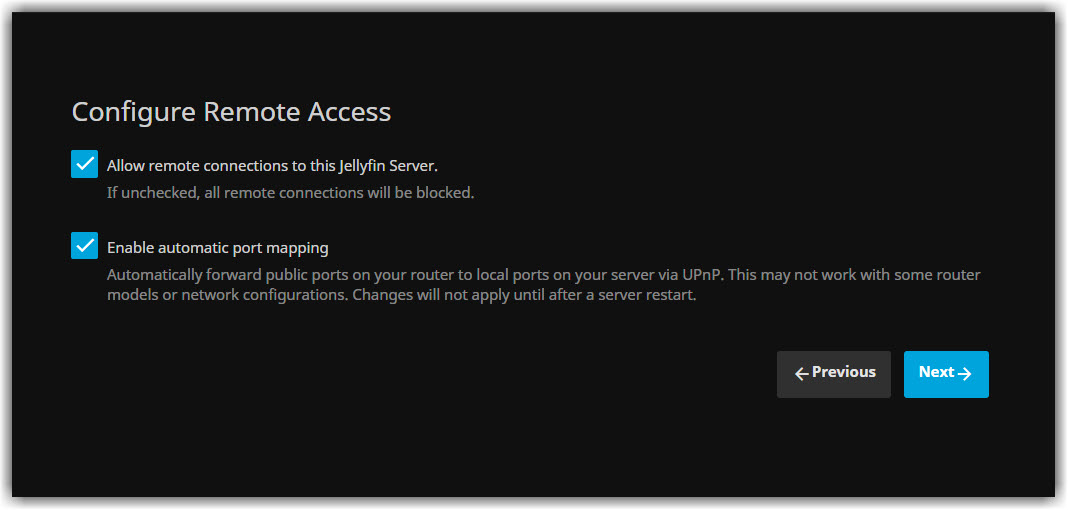
- Check Enable automatic port mapping option and click Next.
- Click Finish to complete the setup.
¶ Configuring Jellyfin
- Once the initial setup is done, Navigate to the Application Manager page of your dashboard and search for
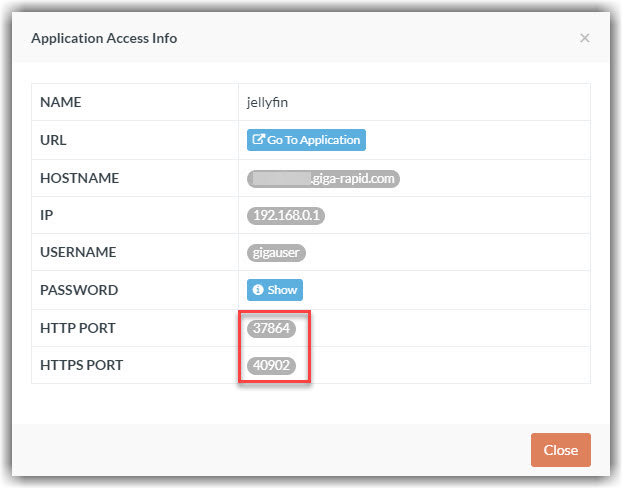
jellyfin. - Click icon to open the Access Info page and note down HTTP port and HTTPS port which will be used later.
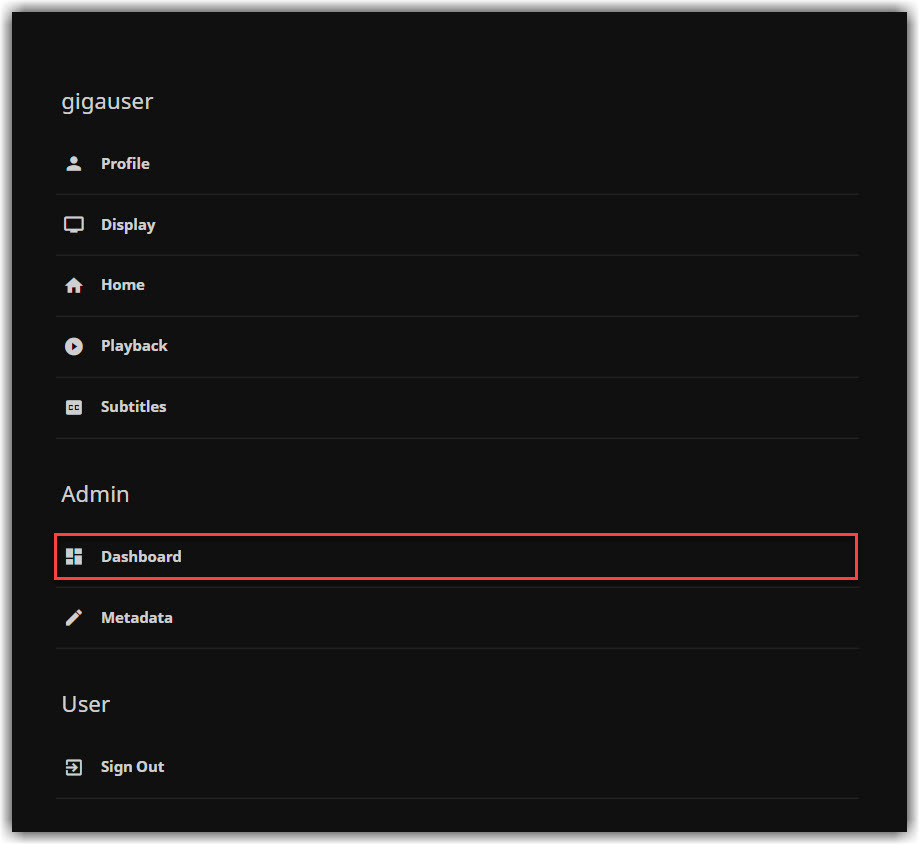
- Open jellyfin webui. Click the top-right icon and select Dashboard under the section Admin.
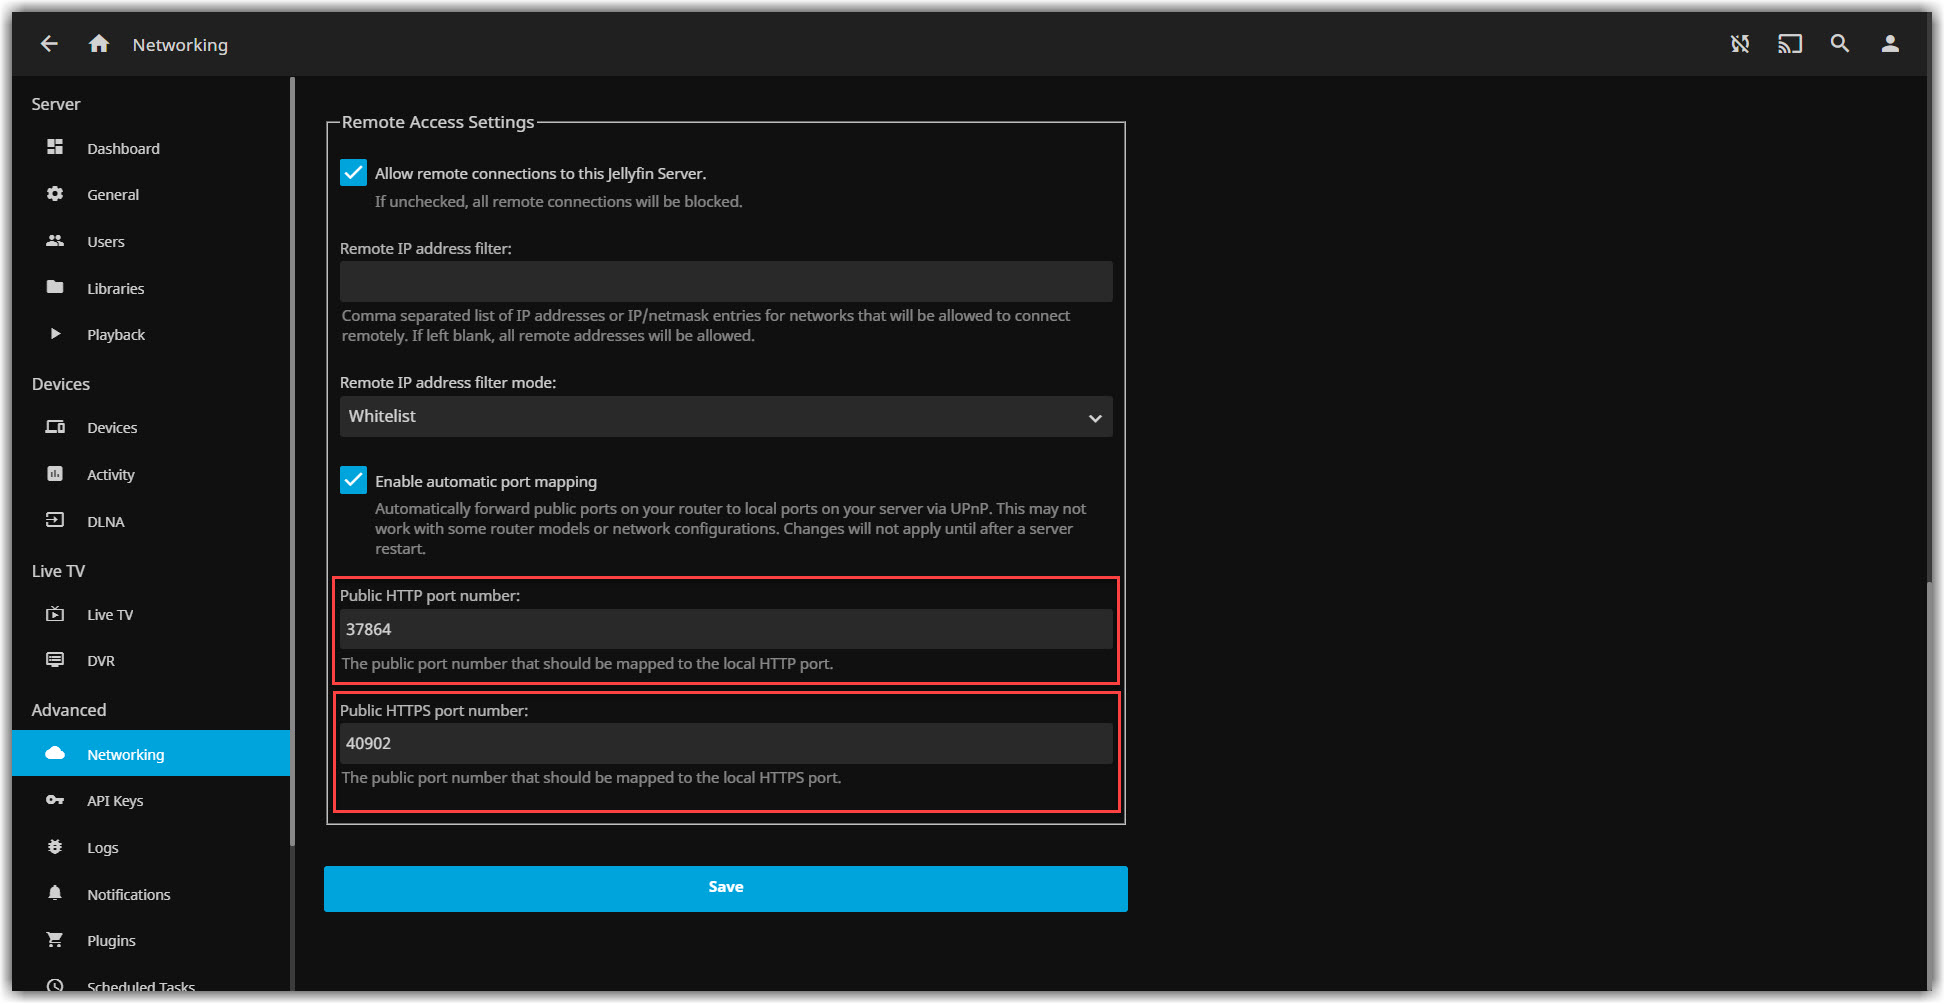
- Navigate to Advanced > Networking. Enter HTTP port and HTTPS port in the Public HTTP port number and Public HTTPS port number field respectively. Then click the Save button located at the bottom.
This step is no longer necessary. However, you may required to change these settings after an app upgrade because the public port changes on upgrade/reinstallation of apps.
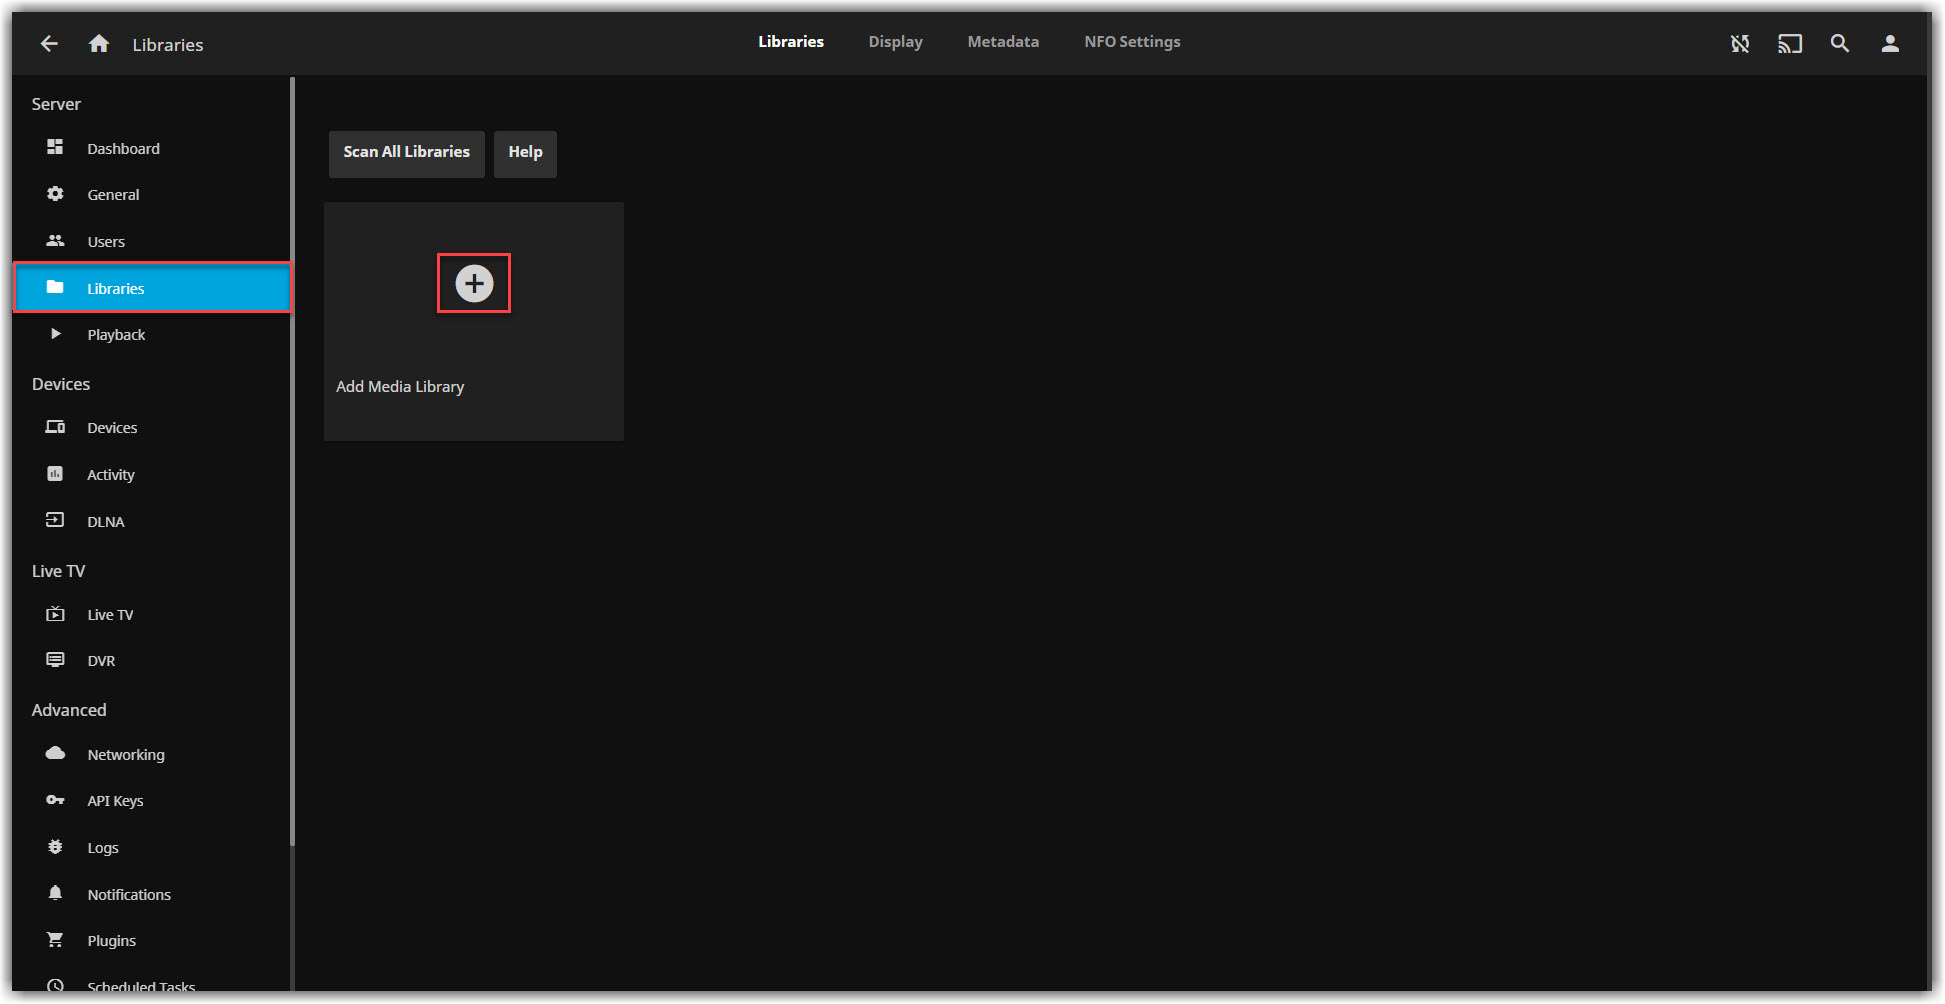
6. To add your library navigate to Settings > Admin > Dashboard > Server > Libraries. Click New Library.
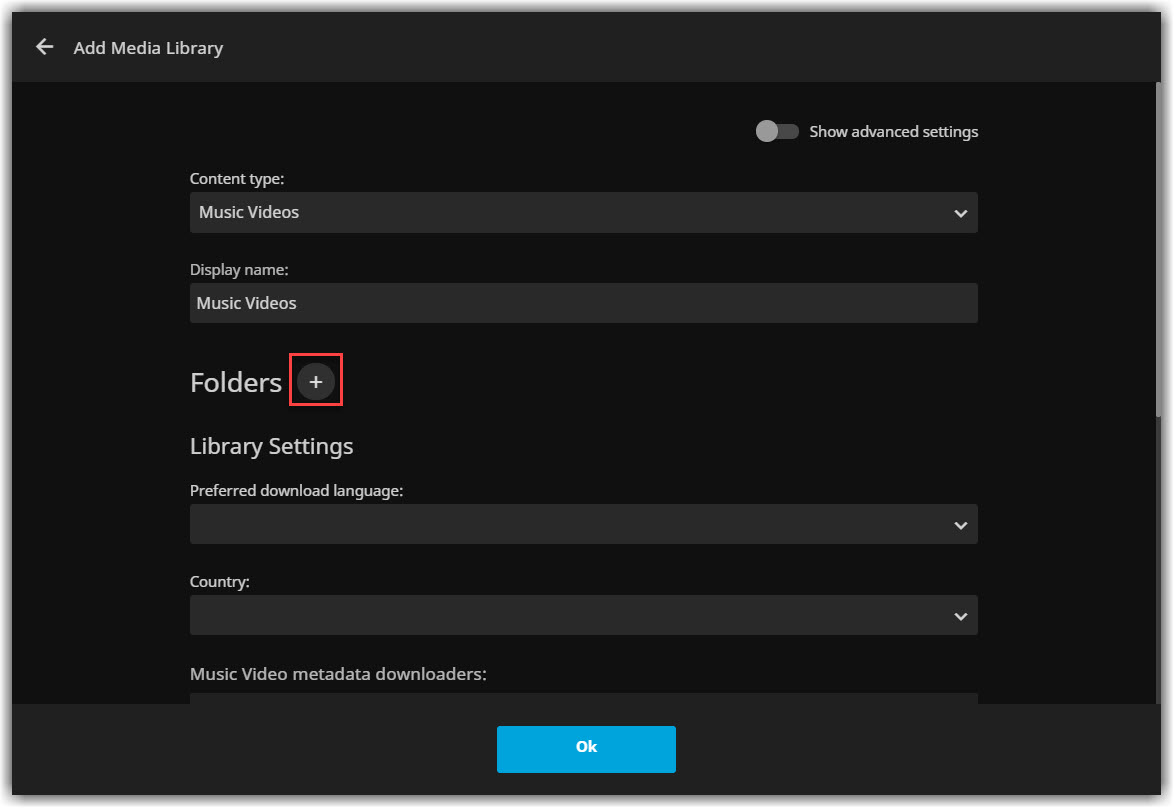
7. Set your preferred Content type, Display name etc. Click icon to add folder(s) to your library.
8. Type /storage in the folder field and tap the icon to list contents. Then select your preferred folder.
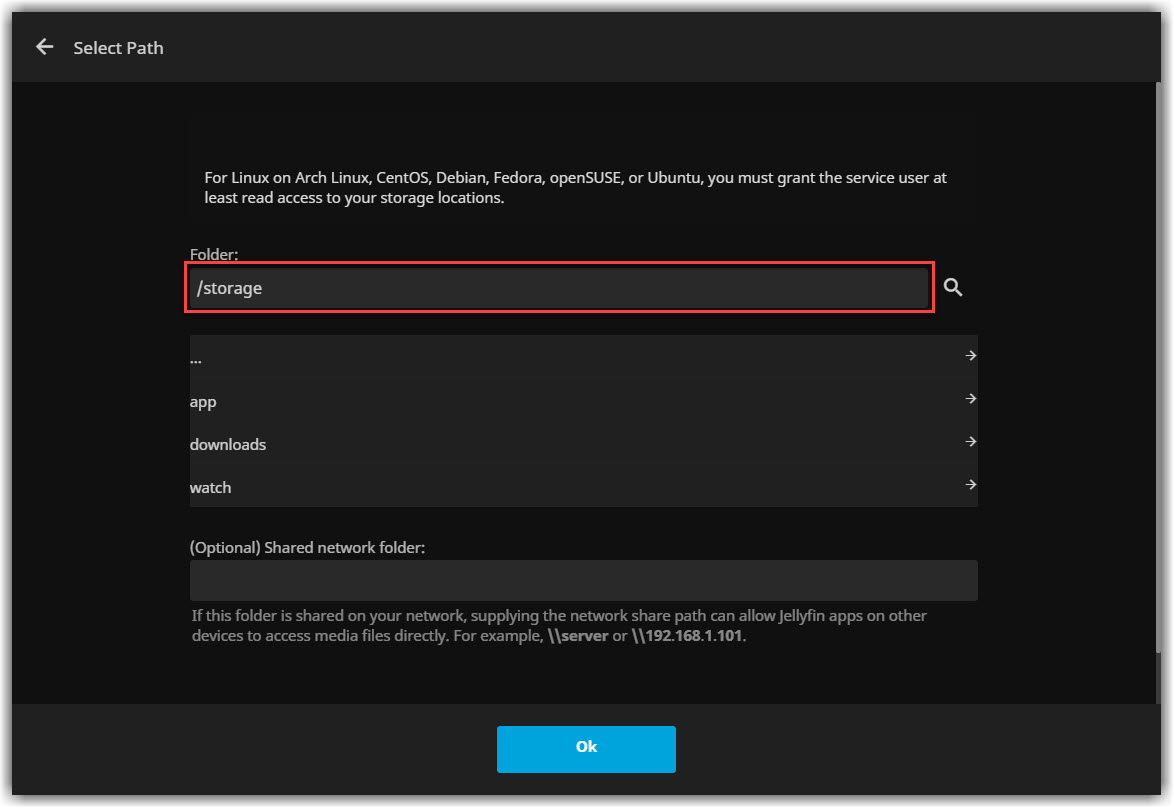
9. Click Ok to finish adding adding a folder.
10. Click Ok again to finish creating your library.